Quick answer: PowerPoint's own tools can hide the words or cut them away, but they leave you with a picture. To remove the text from the design, convert the image into a slide where the words become separate text boxes, then select the boxes and press Delete, and delete any leftover fragments.
If the words only need to be hidden, a shape or a crop can work. If the picture must stay usable without them, they have to become objects you can select.
The rebuild route is the same one covered in how to make an image editable in PowerPoint; this page applies it to deleting words.
What PowerPoint can do on its own
PowerPoint has three practical ways to deal with words inside a picture, each with a limit.
Cover the words with a shape
- Go to Insert > Shapes and draw a shape over the words.
- Open Shape Fill and pick a colour that matches that part of the background.
- Set Shape Outline > No Outline.
It works on flat colour: a plain slide background, a banner or a block of one shade. It fails on a gradient, photo, shadow or texture, because one fill cannot follow what is underneath. The shape is separate: move the picture and the patch stays behind unless you group them. Select the picture, then the shape, and choose Group > Group.
Crop the words out
- Select the picture and open Picture Format > Crop.
- Crop until the words are outside the visible area.
Cropping is clean when the words sit at an edge, such as a caption strip or a logo lockup. It cannot remove a word from the middle without cutting away content on both sides. It also changes the composition: people, products or spacing you wanted may go with the text. And by default the cropped areas remain part of the file, hidden from view. Microsoft’s documentation covers deleting the cropped areas for good; check that your version offers it.
Erase them with Edit Picture
PowerPoint's Edit pictures page lists an Edit Picture tool with Add text, Erase, Move, Upscale, Remove background, Auto enhance and Effects. Brush over the area you want to remove, or draw a box around the object, then select Erase to apply the removal. Choose Update to return to your slide. Microsoft’s page does not say which versions include the tool, so check yours before relying on it.
It is still a picture edit: Erase paints over the picture, so the result is painted-over pixels rather than a word you can select. Our guide to why you cannot edit text in PowerPoint covers the steps and limits.
Why a patch is not a deletion
All three leave one picture object in the file. A picture stores colour, not letters, so clicking a word selects the whole image; there is no text cursor and no word to delete.
That matters if the slide is reused: a shape can be moved, and a crop can be reset, so the words may still be recoverable. The only way to make them disappear as words is to stop treating the image as one object.
The route that removes the words, not just hides them
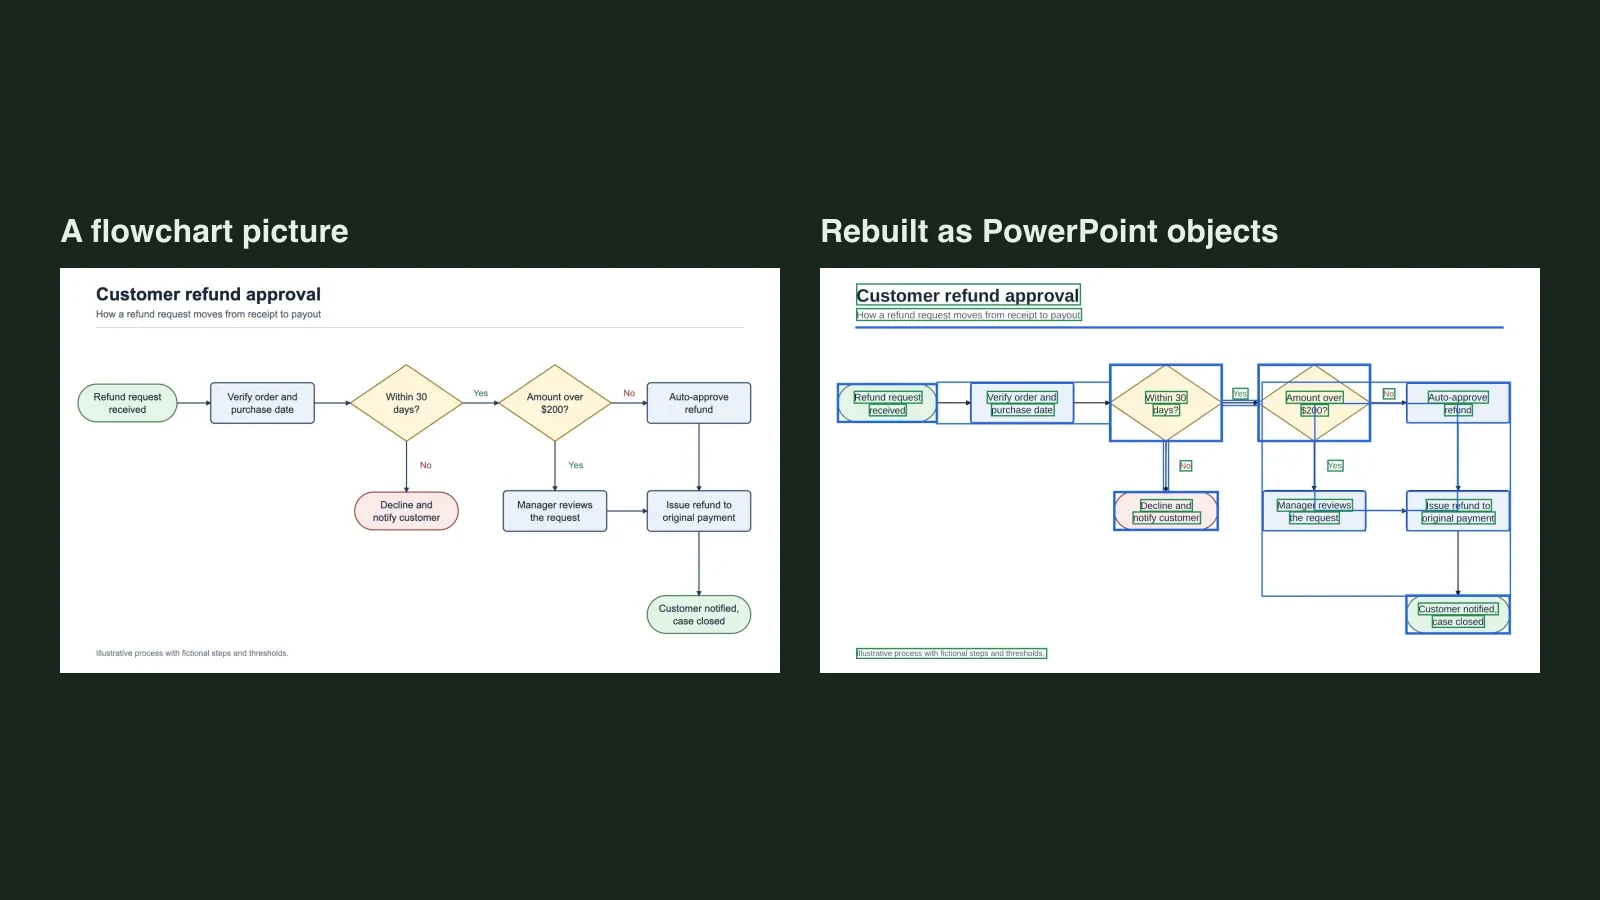
Unraster's image to editable PPT takes a PNG, JPG or WebP and rebuilds it as a PowerPoint slide. The text is placed in text boxes; the background, panels, lines and illustration are traced as separate shapes. The output is a .pptx, not a flat image with a text layer.
- Upload the picture on the upload page.
- Check the preview. You can retype text and move objects in the page, so you can see whether the words came back as text before you download.
- Download the .pptx and open it in PowerPoint.
- Click a word. A text cursor means it is a text box; press Delete.
- If a phrase was split into two boxes, select both. If a stray letter came back as a shape, delete that shape too.
What is underneath is not the original image but a new background of shapes, so deleting a text box does not uncover a hidden photograph. The trade: the rebuild is not perfect, and small lettering can survive as separate shapes.
To replace the words instead of removing them, editing text in a picture compares the tools. If the background is a real photo, use a pixel editor; a rebuilt slide will not preserve skin, fabric or lighting.
A real example: removing “Summer Sale”
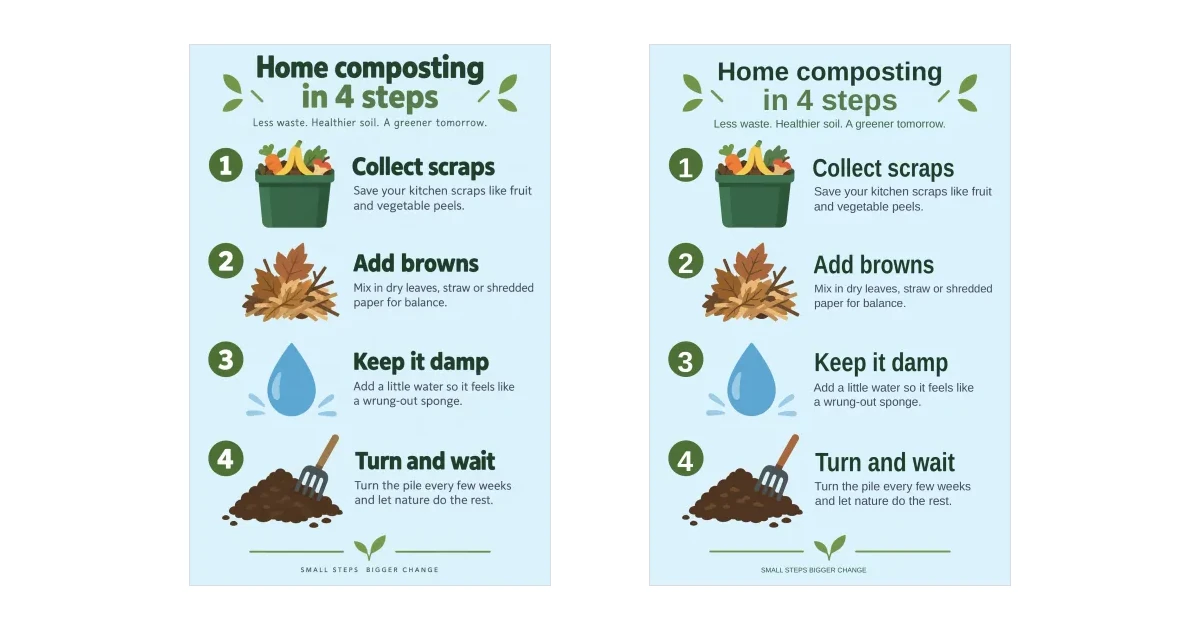
The example is an AI-generated promotional image. It shows a fictional beach shop: “Summer Sale” across the sky, “Up to 40% off beachwear” below it, and “Fictional shop” in the footer. The words are baked into the illustration, and there is no real brand.

It was converted once with the online tool, with no hand fixes. The result was one slide with four text boxes: “Summer”, “Sale”, “Up to 40% off beachwear” and “Fictional shop”. The rest came back as separate shapes, with no pictures.

The outlines below mark those four boxes; they are text objects, not regions of the picture.

Delete them like any text box: select “Summer” and “Sale”, press Delete, then do the same for the subtitle and footer. The title area comes out clean, with sky behind it. The subtitle does not: a row of pale fragments stays where “Up to 40% off beachwear” was. They are shapes traced from the original lettering, not text, so they stay when the text box goes. Select and delete them separately. The two short lines either side of “Fictional shop” in the footer are also still there as shapes.

There is no picture in the slide, so nothing uncovers the original image; the background is still the shapes drawn there. The leftover fragments are part of that simplification.
The text boxes can go, but the background is a simplified redraw. In this conversion:
- The headline font came back as Arial, which is narrower than the original face, so the title occupies a slightly different width.
- The sky and sea gradients turned into visible bands of colour.
- The sand, umbrellas and loungers were reduced to flat shapes, with less shading than the source.
- The converted slide shows a row of pale fragments near the subtitle — the leftover shapes shown above, which the text box did not take with it.
Deleting the text box still works, but compare the result with the original before using it in a customer-facing slide.
What to check after deleting the words
- Check for leftovers. Look where the words were. Here the title area was clean, but the subtitle left a row of pale shapes to delete separately.
- Read the remaining text. If you keep the subtitle or footer, check for stray letters left as tiny shapes.
- Compare the background. Zoom in where the words were; look for bands, missing details or shapes that no longer line up.
- Check the font. A substitute can change line lengths and spacing, especially on a centred headline.
- Look at the edges. Thin outlines, small icons and decorative lines simplify first.
- Keep a copy of the original image and the .pptx.
When PowerPoint's own tools are the right choice
For one small word on a flat banner, a shape or Erase may be faster than converting. If the word sits at an edge you can lose, crop is simplest. These are real fixes for an internal slide.
Convert when the words are part of the design, there are several lines, or someone else may edit it later. Then the text is a text box, not a patch.
Bottom line: PowerPoint can cover, crop or paint over the words, but it cannot give you a word to delete while the file is still a picture. Convert the image first, then remove the text boxes. Try Unraster's image to editable PPT, check and edit the preview, then compare the rebuild before you use it.