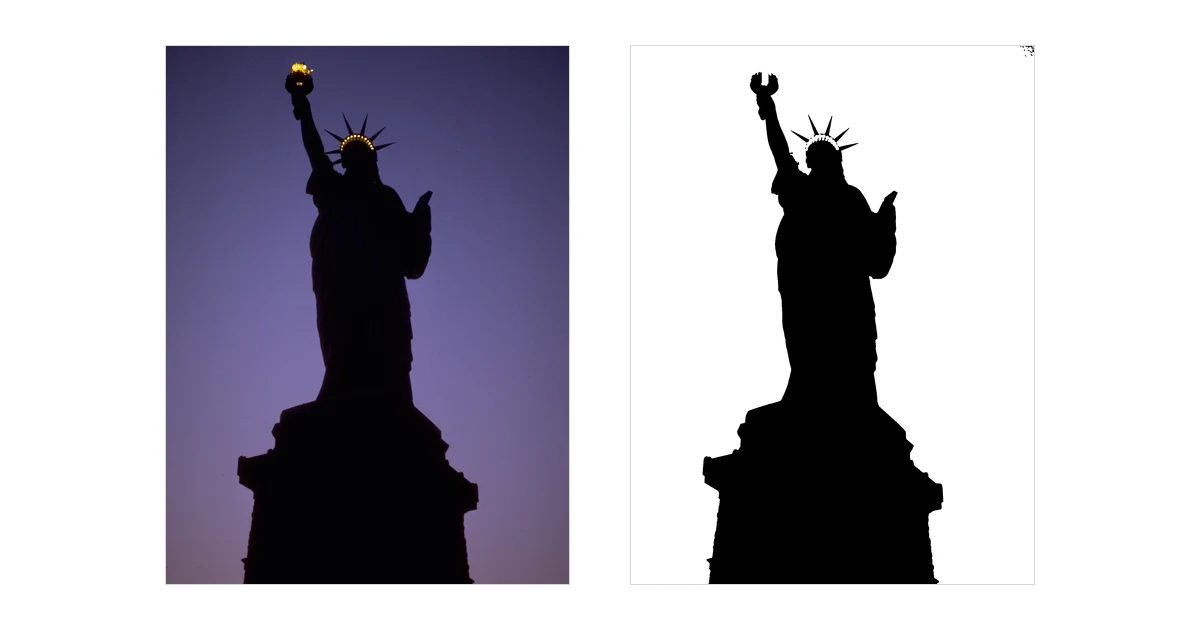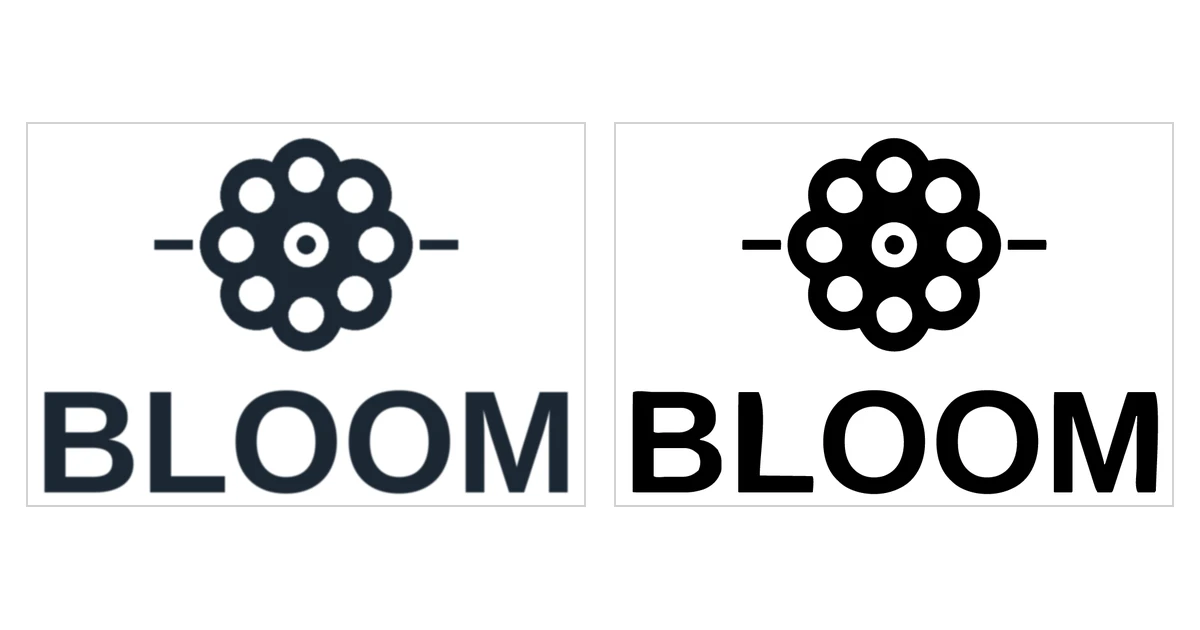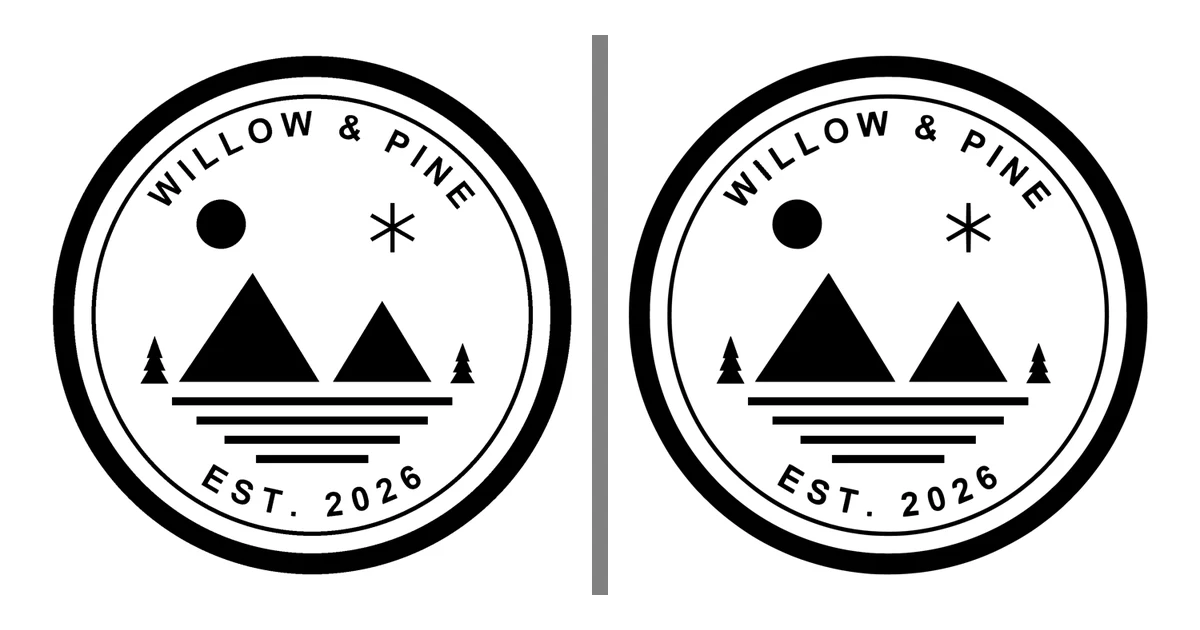
Quick answer: open Unraster's Image to SVG on its Image to SVG page, upload your PNG, and choose Basic. Basic is free, runs in your browser, and the image is not uploaded. A high-contrast, single-colour image comes back as black and white filled shapes. Download the SVG, then delete the canvas-sized white background shapes before you import the file into your laser software.
A laser engraver works in two states at each point: it burns, or it does not. That makes a two-tone vector file a natural input. A PNG, though, is a grid of pixels. Something has to redraw it as shapes before laser software can use the outlines.
This guide covers which PNGs work, the five steps, a real sample with its measurements, and the limits we did not test. The conversion and the rendered result were checked; the sample was not engraved on a physical laser machine.
Does laser engraving use SVG or PNG?
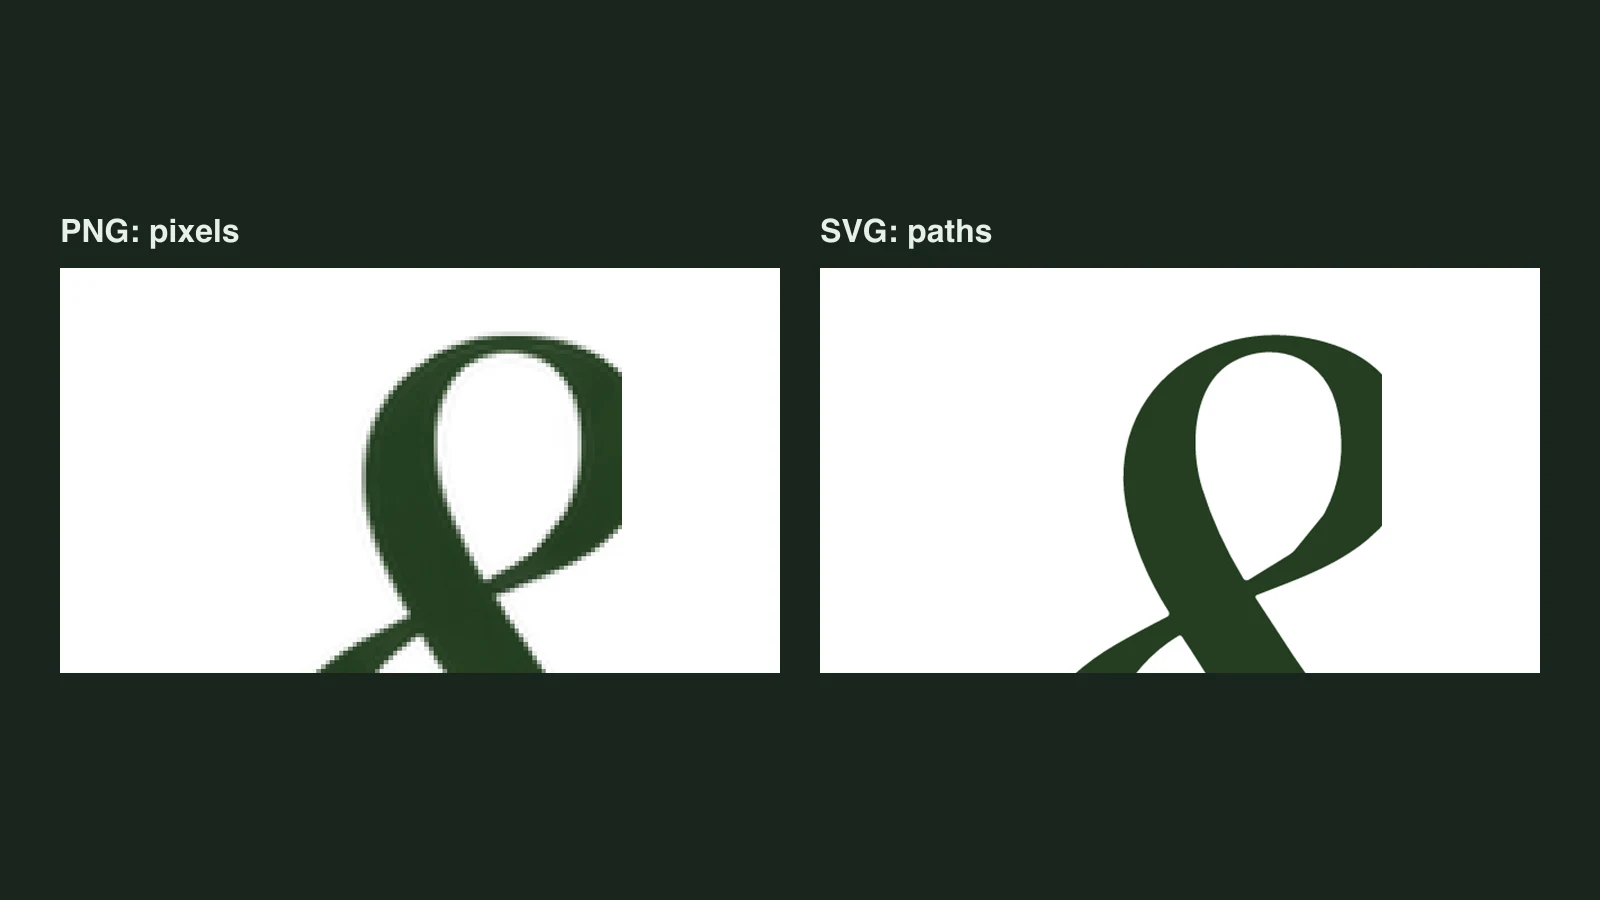
Both formats exist in this workflow, and which one you need depends on your software. An SVG stores shapes as paths, so the design stays sharp when it is scaled. A PNG stores pixels, so the edges are fixed at the resolution of the file.
If your laser software imports SVG, the SVG is ready to place and size. The LightBurn documentation lists SVG among the vector file formats it can import. Unraster is not affiliated with LightBurn, and other laser programs differ: check their own documentation for whether they import SVG.
If your machine or software only imports DXF, use PNG to DXF instead. This article is about the SVG route.
Which PNGs work
The right input is a black-and-white image with solid black shapes on a plain white background. High contrast matters because the result has only two jobs: mark the material, or leave it alone.
| Your PNG | What to expect |
|---|---|
| A solid black logo, badge or silhouette on white | Good fit: clean filled shapes |
| Black line art with thick, even strokes | Usually works; check the thinnest lines in the preview |
| Black line art with hairlines or light grey lines | Risky: thin or pale lines may drop out |
| A greyscale image, gradient or photo | Poor fit: continuous tones become blotchy shapes |
| Coloured artwork | Flatten it to black and white first if you want a two-tone engraving |
Basic traces the colours it sees, so a grey or coloured source can come back with more than two fills. If the goal is engraving rather than a colour file, convert the artwork to pure black and white before you upload it.
Thin lines have a second limit that has nothing to do with tracing. If a line is narrower than your laser spot, it may not come out as a separate mark. The preview can show a line that the machine cannot resolve, so check the thinnest details against your own setup.
Step by step: PNG to SVG for laser engraving
- Prepare the PNG. Use a high-resolution file with a plain white background and black artwork. Crop away anything you do not want engraved, and flatten greys or colours to black and white if needed.
- Open Image to SVG and choose Basic. Pick, drop or paste a PNG, JPG or WebP up to 20 MB. Basic is free and runs in your browser; the image is not uploaded.
- Check the preview. Look for thin lines that vanished, letter centres that filled in, closed shapes with gaps, and stray specks. If the result is wrong, fix the source image before downloading.
- Download the SVG.
- Remove the white background. Do it in a vector editor before import, or after import in your laser software. The next section explains which white shapes to delete.
A real sample: the WILLOW & PINE badge
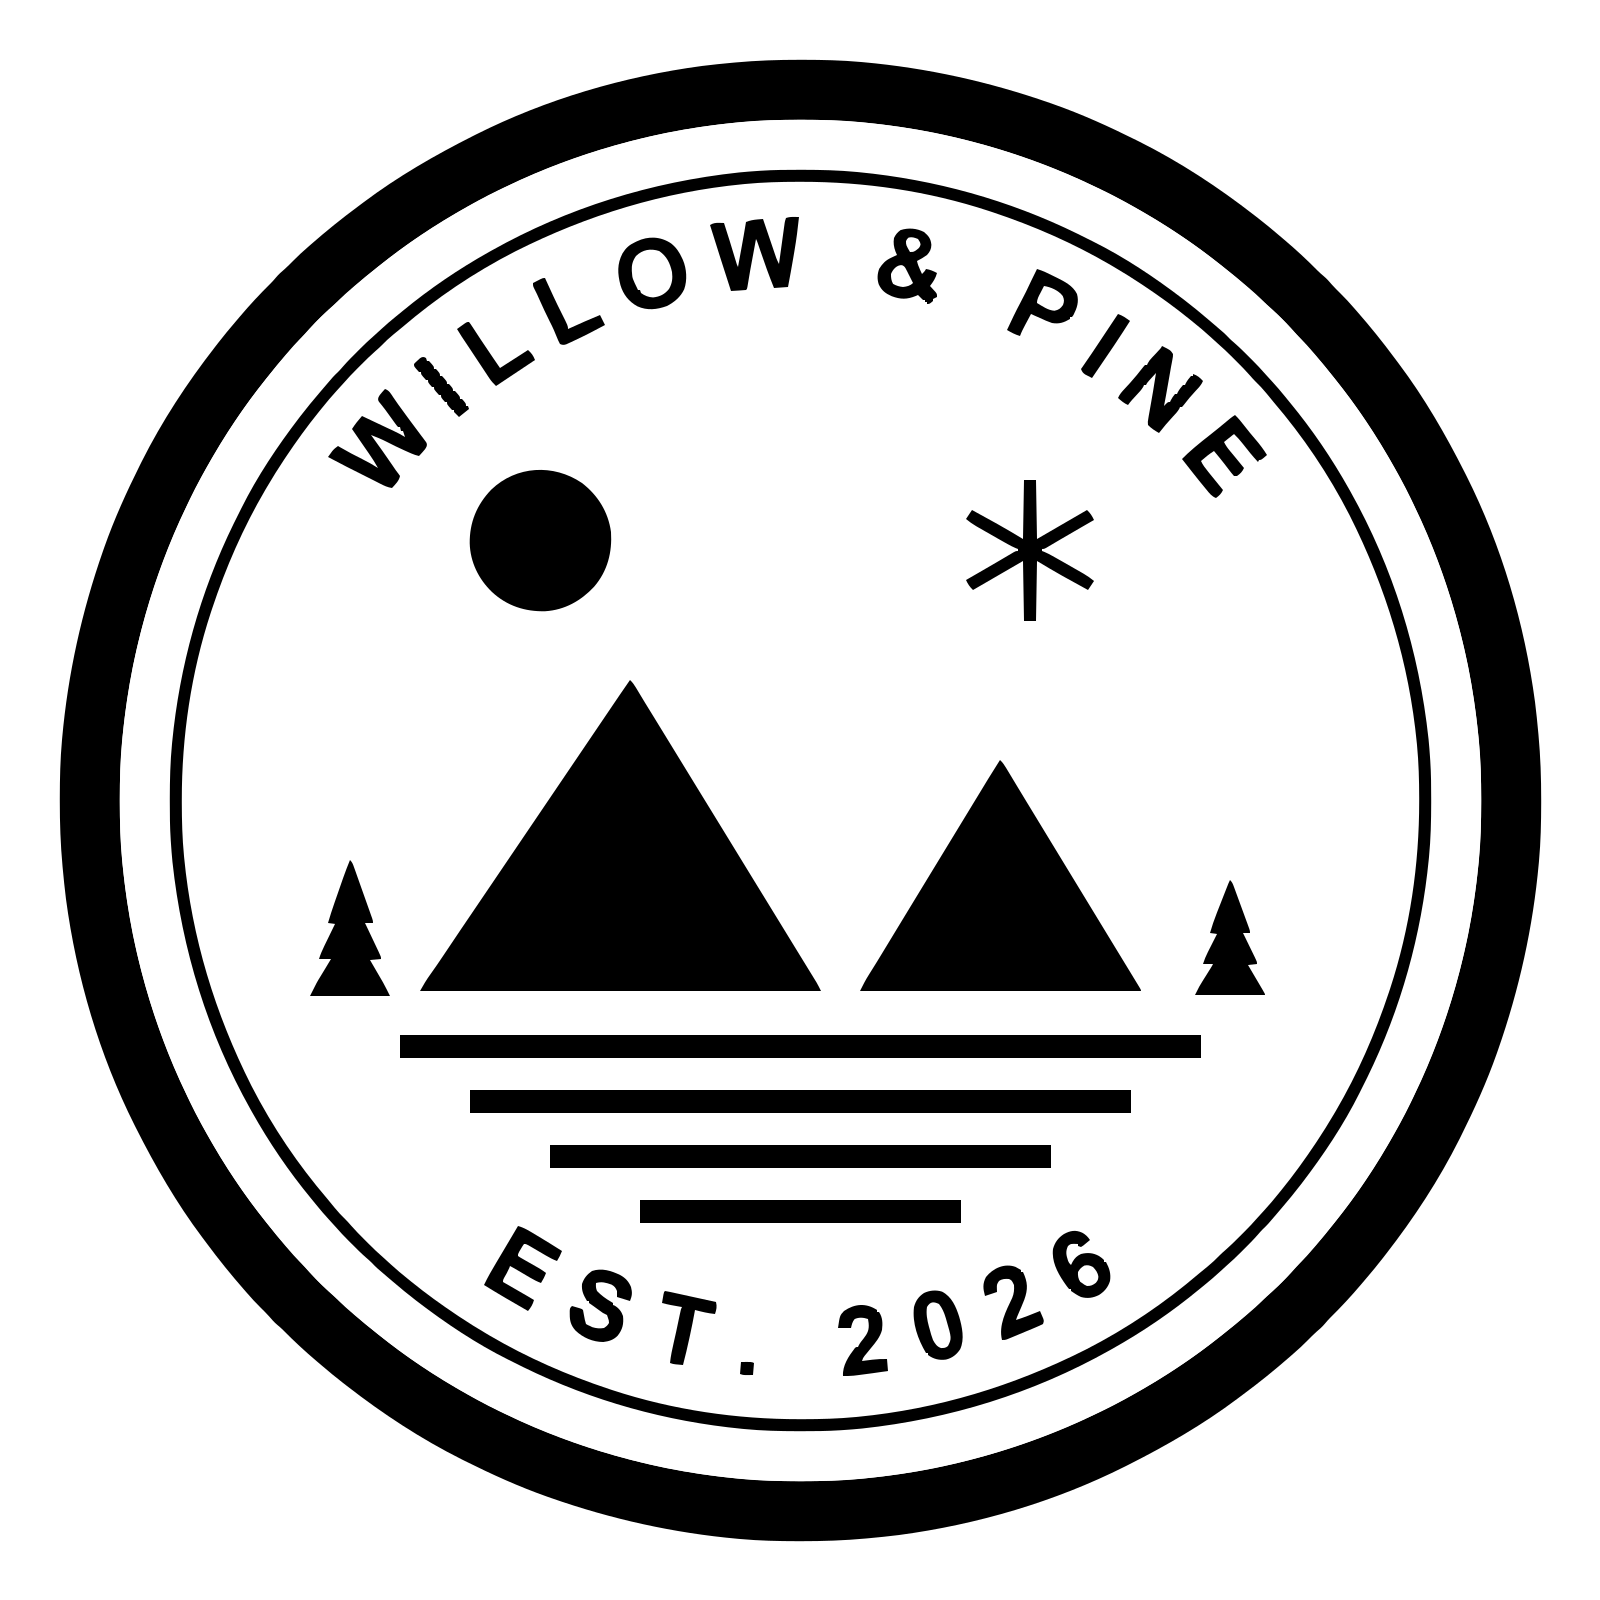
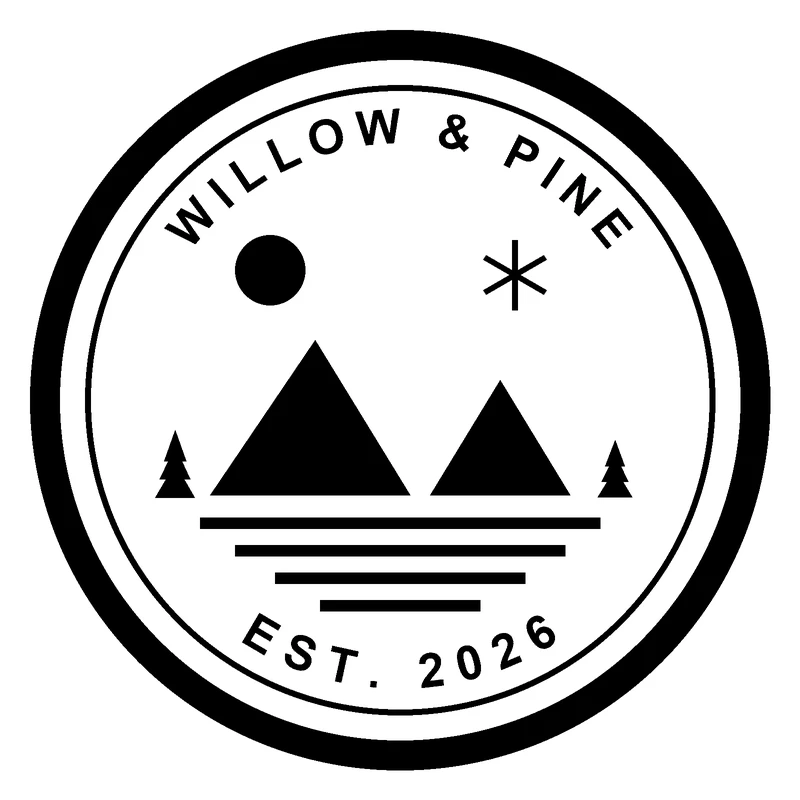
The example is a single-colour WILLOW & PINE badge; its SVG canvas is 1600 × 1600. It has an outer ring, an inner ring, two mountains, two pine trees, lake lines, a circle, an asterisk-like mark, and the curved text WILLOW & PINE with EST. 2026. It was converted with Basic and the result was not hand-edited.
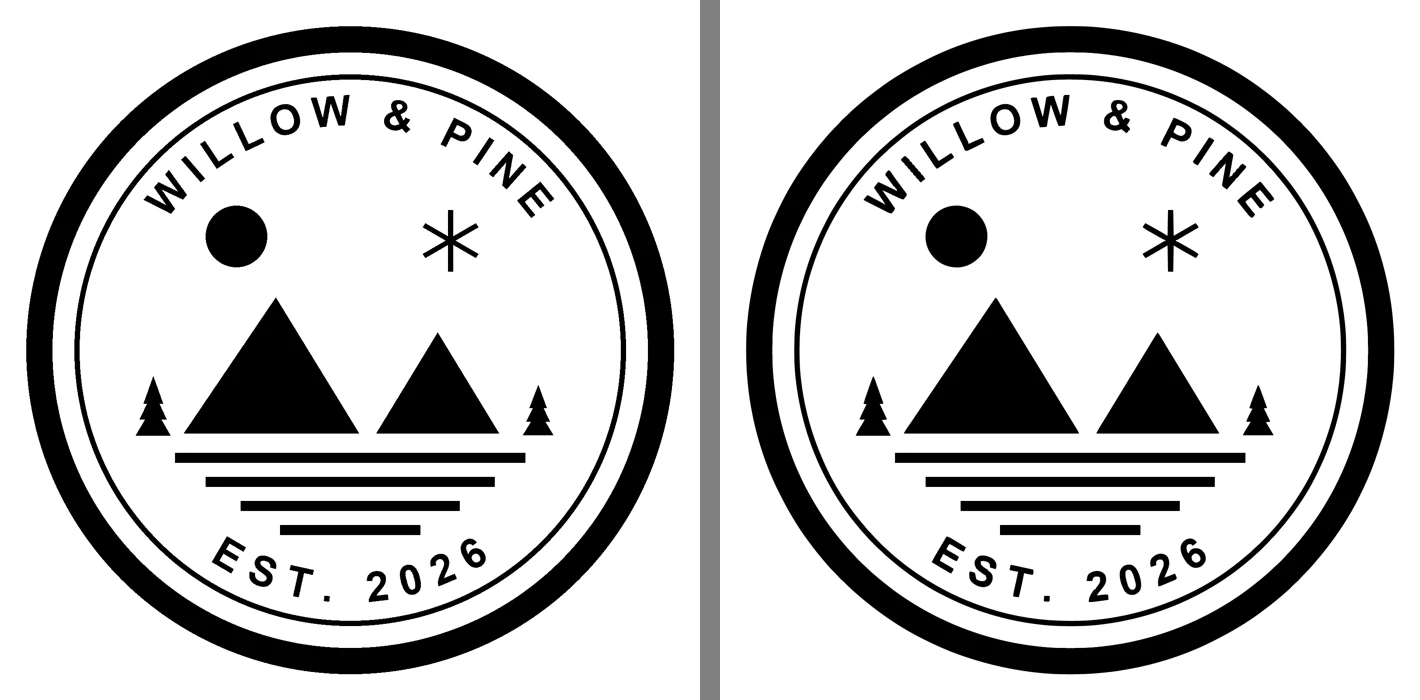
Measured from the downloaded file:
| Measure | Result |
|---|---|
| File size | 46,558 bytes (about 45.5 KB) |
| Paths | 40 <path> elements |
| Fill colours | #000000 on 31 paths, #FFFFFF on 9 paths |
| Raster images | 0 <image> elements |
| Text elements | 0 <text> elements |
The text is outlined, not live text. Each letter is a set of paths, so the file does not depend on a font being installed. That matters for laser software: the LightBurn documentation says it cannot import embedded fonts, so text should be installed on your machine or converted to paths in the program that made the file. This file has no live text at all: the letters are already paths.
The background is a white filled shape, not transparency. The file uses only black and white fills, and the first path is a full-canvas white shape behind the artwork. The second white path is also canvas-sized: it fills the four corners outside the outer ring.
Remove the white background before import
Open the SVG in a vector editor, or import it into your laser software, and look for the white shapes that cover the whole canvas behind the artwork. In this sample there are two: the full-canvas background and the white fill of the four corners outside the outer ring. Delete both. In a vector editor they are often the first objects in the layer list; in laser software they may appear as large white shapes behind everything else.
Do not delete every white shape. This sample has nine white paths, and seven of them are not background: the white gap between the rings and the counters inside letters such as O are part of the design. Removing all white would change the picture. Delete only the two canvas-sized white shapes, then check that the badge still looks right.
Whether the remaining white shapes become a problem depends on the program. A white fill may be ignored, or it may be treated as an object to process, which is why removing the background is the safer habit. We did not test how each laser program handles a white fill, so check the result in your own software before you run the job.
What the LightBurn documentation says
Two points from the LightBurn documentation matter for this workflow:
- SVG is listed as a vector file format that LightBurn can import.
- Embedded fonts cannot be imported, so text has to come from fonts installed on your machine or be converted to paths first.
The sample above is already in that shape: 40 paths, no <text> element, and no font reference. If you need to change the words, edit the artwork or retype them in your laser software rather than expecting a font to come through.
Other laser programs are outside the scope of this article. Check their own documentation for SVG import and for how they handle text and fills.
Limits and what we did not test
- No physical engraving test. We converted the PNG and compared the rendered SVG. We did not burn the sample on a laser machine.
- Machine settings are yours. Size, power, speed, focus, passes and material are set in your laser software and on your machine. They are not part of the conversion.
- Thin lines can disappear. A line narrower than the laser spot may not resolve, even if it is visible in the SVG.
- This is not a cutting guide. If you need cut outlines rather than filled engraving, set that up in your laser software according to its documentation. This article does not cover cut settings.
- One sample is not a guarantee. The measurements describe this badge. A different image can produce more paths, different fills or a less accurate trace.
- No automatic background removal. Unraster traces what is in the image, so the white background is part of the output and you remove it yourself. If the background is not plain, it becomes part of the result.
Related guides
- DXF-only machine or software: PNG to DXF.
- A paint or etch stencil rather than an engraving: How to make a stencil from a photo.
- Vinyl cutting on a Cricut: How to convert an image to SVG for Cricut.
- The general PNG-to-SVG methods compared: How to convert PNG to SVG.
Bottom line: for a black-and-white badge, logo or silhouette, start with Image to SVG, use the free Basic mode, check the preview, and delete the canvas-sized white background shapes before you send the file to your laser software. The sample is a real conversion with 40 paths and readable lettering, but it is one result; thin lines, photos and gradients remain the hard cases.